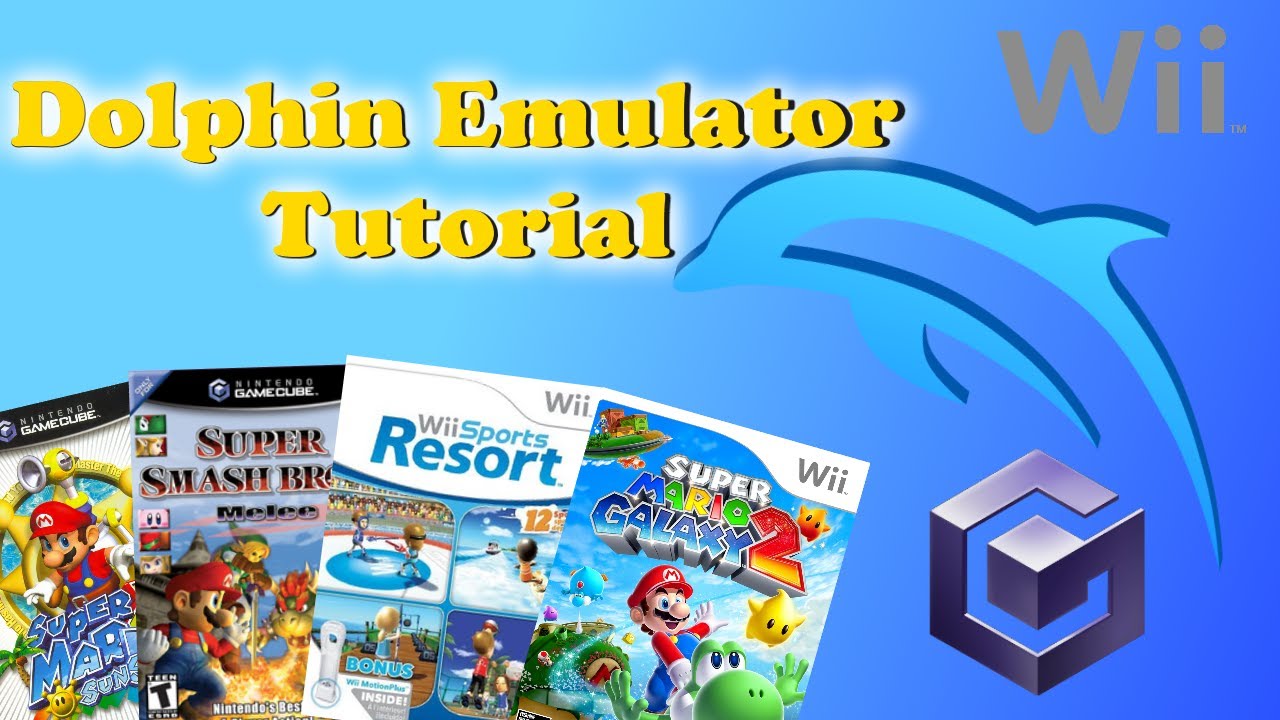
Updated 2025 Dolphin Emulator Installation and Usage Tutorial
Dolphin emulator has long been a “stop” for gamers of the Nintendo GameCube and Wii series thanks to its ability to upgrade graphics, customize flexible controls and support many convenient features. If you are a newbie and are confused about how to install Dolphin and how to use a real Wii controller with this emulator, then this article by Romsfun is for you.
1. Download the Dolphin emulator
- Visit Dolphin’s official page (https://dolphin-emu.org/).

- Click the button Download to download Dolphin.
- You can choose:
- Stable version (Stable).

- Development version (Development) – Gamers often recommend using the development version to get the latest features.

- At the time of this video, the latest version is 153.

- Dolphin supports: Windows, Mac, Android, and Linux.
Currently the machine being used as an example is a Windows computer, so if you are also using this model, please select Windows x 64 to download. As for other models, you can choose between macOS, Android,…
2. Decompression software
- You will need 7-Zip to extract Dolphin and ROMs (software download link: https://www.7-zip.org/).

- After downloading Dolphin, save the Dolphin archive on the desktop.
- You can save on an external hard drive or SSD if you like.
Note:
Make sure before extracting Dolphin, you have prepared GameCube and Wii ROMs. In case you still don’t know how to extract ROMs, continue reading below:
3. Extract the emulator and ROMs
- Extract Dolphin:
Step 1: Right click on the file.
Step 2: Choose Show More Options > 7-Zip > Extract to Dolphin Master.


After unpacking, the Dolphin Master folder will contain all of the emulator’s files. You can delete the original compressed file if you don’t want to make mistakes.
- Extract ROMs:
Similar to Dolphin, you can do it step by step as follows:
Step 1: Select all ROMs, right click.
Step 2: Choose Show More Options > 7-Zip > Extract Here.

Note: Supported ROMs formats include:
- GameCube: ISO.
- Wii: WBFS.
- Dolphin also supports it GCZ and RVZ.
Romsfun now has the complete Gamecube ROMs collection in standard format, you can download it completely free here.
4. Add games to the Dolphin emulator
- Open Dolphin.

- In the main interface, double click on the text Double Click Here to Set a Games Directory.

- Select the folder where you want to save the file
- Press Select Folder, the game list will be displayed with the cover image.


In case your device does not automatically display the game’s cover image, you can do the following:
- Go to the menu View, select Grid View.

- Enter Options > Configuration > Interface.

- Turn on the option Download Game Covers from GameTDB.com for Use in Grid Mode.

5. Graphics settings
To ensure a gaming experience that suits your needs, make sure you have the appropriate graphics settings for your device. To check, follow these steps:
- Enter Graphics.

- Backend: Recommended Vulkan.

Note: If the device is weak, you can try it OpenGL or Direct3D 11. But the advice is that you should use Vulkan to fully experience the Game graphics
- Adapter: Make sure Dolphin selects the correct graphics card (if applicable).

- Aspect Ratio:
- 4:3 (original standard).
- 16:9 (widescreen – prone to screen tearing in some games).

And if you want to enjoy the game to the fullest, [webname] recommends that you enable the following options:
- V-Sync (anti-tearing).
- Start in Fullscreen (automatically goes to fullscreen when opening the game).
- Hybrid UberShaders (smooth increase when loading shaders).
- Compile Shaders Before Starting (reduces jerking when first loading).
Additionally, to increase image quality (Enhancements), you can choose:
6. Increase image quality (Enhancements)
- Internal Resolution: Depending on the device, you can adjust it according to the screen (1440p, 4K, 8K…).

- Anti-Aliasing: Select 8x.

- Anisotropic Filtering: Select 16x.

Besides, if your initial setting is 16:9, you can choose the widescreen hack as shown below to ensure better display quality.

7. Install the GameCube controller
Step 1: Enter Controllers.

Step 2: Stay Port 1, press Configure.

Step 3: Select your controller from the list Device.

Supported options: Xbox One, Xbox Series, PS5, Switch Pro. For the system in the example, the handle has text SDL at the top.
Step 4: Assign keys yourself by clicking on each box and then pressing the corresponding button on the handle.

- Turn on vibration (if desired)
- In section Motor, double-click the first option.

- Press Test to check vibration and select OK, click Close to complete the installation

In case of multiplayer, you can repeat the previous steps at Port 2, 3, 4, etc.
8. Install the Wii controller (Real Wiimote)
In fact, there are quite a few Wii replica versions on the market, but the advice is that you should use a genuine Wiimote to optimize the usage experience, and the setup of the genuine version will be easier to use and smoother than many imitation versions.
To use the Wii, you also need to buy the Dolphin Bar, priced around $29.98 (Purchase link)
To install the handle, follow these steps:
- Power on the Dolphin Bar.

- Choose where to place the sensor bar (top or bottom of the screen).
- Set mode:
Mode 1 is for keyboard and mouse. Press the button Mode to switch to Mode 2, this is the mode keyboard and mouse used for gaming.
Mode 3 supports the handle (controller), and Mode 4 for Real Wiimotes — this is the mode we need to use

- Wiimote sync:
- Press the button Sync on Dolphin Bar.
- Press the button Sync on Wiimote.

- Wait for the handle to connect.
- In Dolphin:
- Enter Controllers.

- On Wii Remote 1 section, select Real Wiimote.
- Press Refresh, the handle will vibrate to signal connection.

So you have completed the installation, now you can turn on the game in the options and play it to test the settings, good luck!